DIY Texture Paint: How to Create Designer Walls at Home and Save on Labour Cost
Love the look of designer textured walls, but worried about labour charges and contractor schedules? With the right system and guidance, DIY texture paint is a real option – especially when you’re using MacoAvell lime-based textured finishes, and you have access to free product training and support.
This guide will show you how DIY texture paint can help you:
- Create beautiful, customised feature walls
- Save on labour costs
- Enjoy the satisfaction of finishing the wall yourself
Why Choose DIY Texture Paint?
DIY texture paint is ideal if you:
- Enjoy hands-on projects
- Want to save on contractor labour
- Prefer to work at your own pace
- Want a finish that looks more special than normal paint
Instead of paying mainly for labour, you can invest in:
- Better-quality lime-based texture materials
- The right tools
- A bit of time to learn and practice
With MacoAvell, you also get the added advantage of local support and training options to help your DIY result look closer to professional work.
Choosing a DIY-Friendly Texture System
Not every texture effect is suitable for a first-time DIY user. Some multi-layer, high-shine finishes are better left to trained applicators.
For DIY use, look for systems that are:
- More forgiving in application
- Matte or soft, not ultra-gloss
- Designed to allow natural variation without needing perfect trowel skills
From the MacoAvell range, DIY users often start with:


- Soft matte or cloudy finishes that can be achieved in 1–2 main texture coats
- Subtle concrete-style effects that look good even with small imperfections
You can begin with one feature wall in a bedroom, living room or study area to build confidence before tackling more walls.
Tools and Materials You Will Need
Before you start your DIY texture paint project, prepare the right tools and materials.
Basic tools

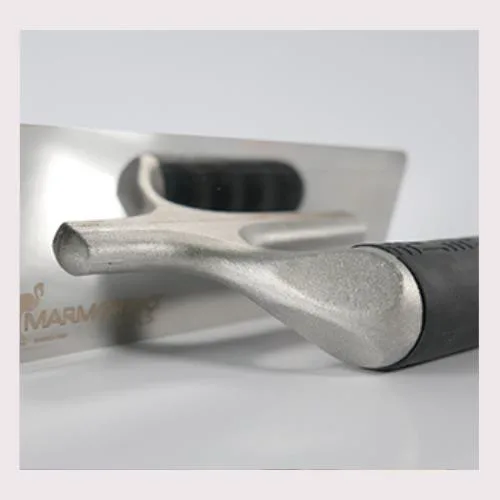
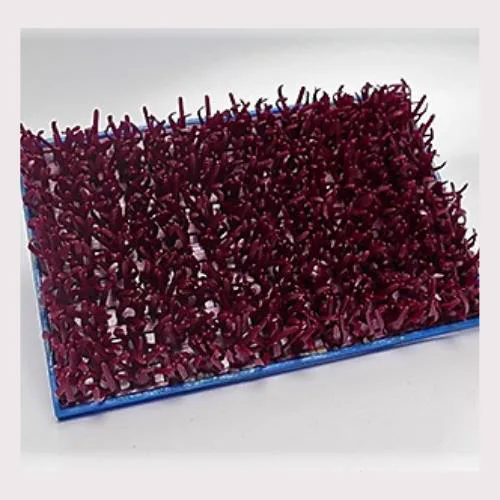
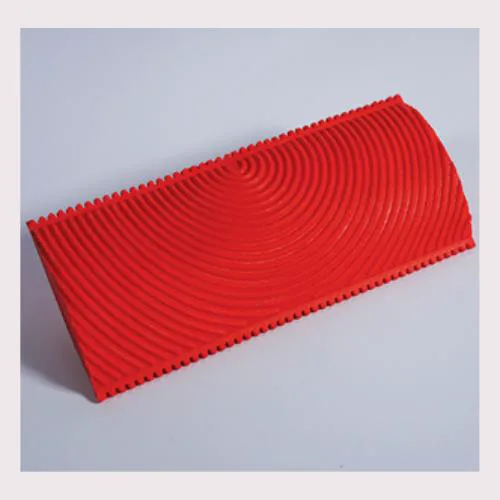
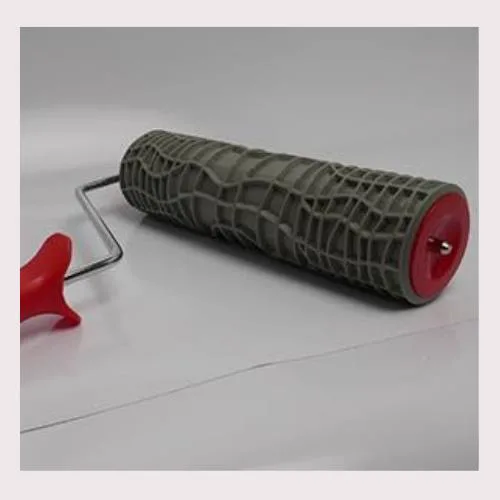
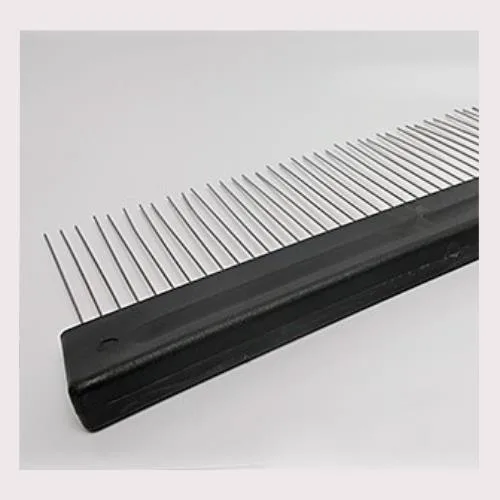
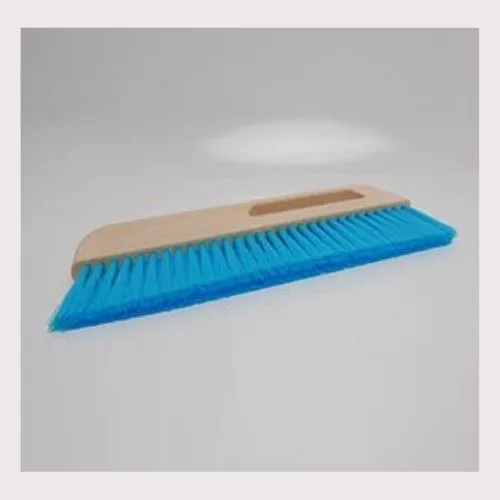
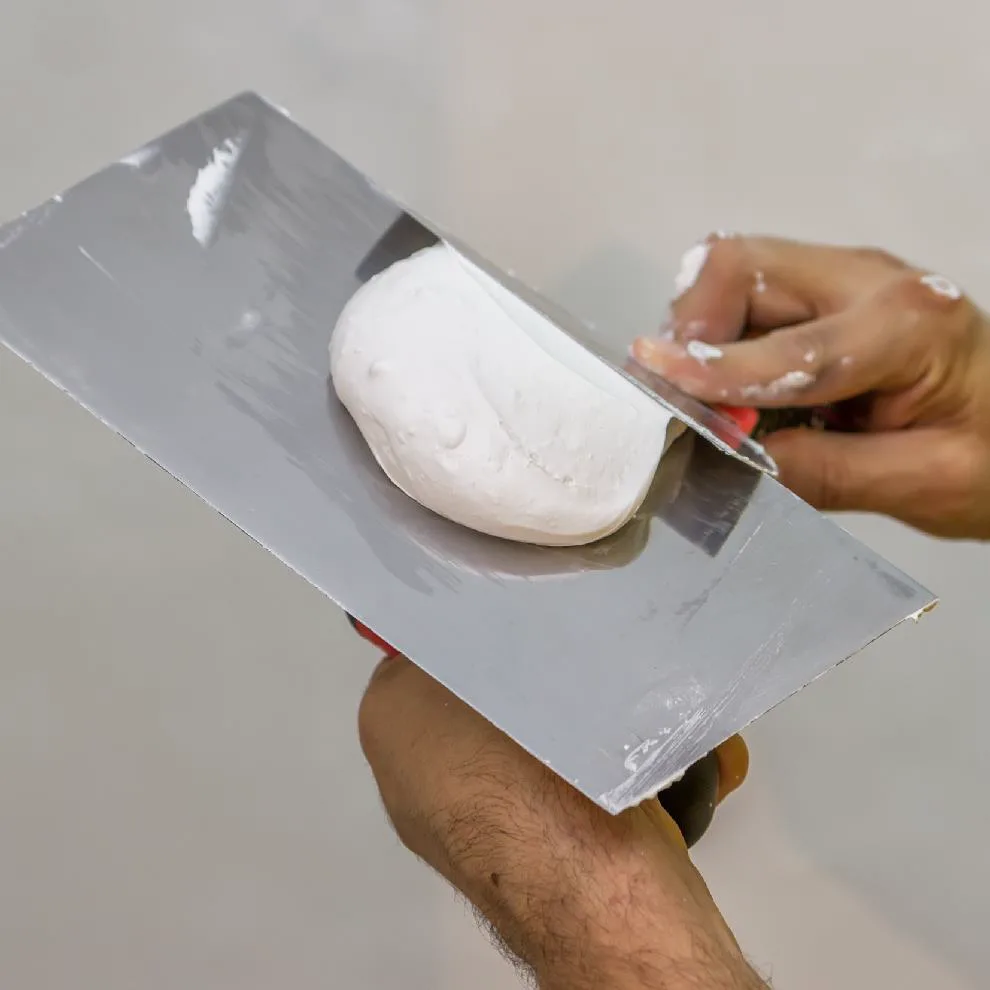
- Stainless steel trowel (medium size)
- Plastic or flexible spatula for smaller areas and edges
- Roller and tray for primer or basecoat
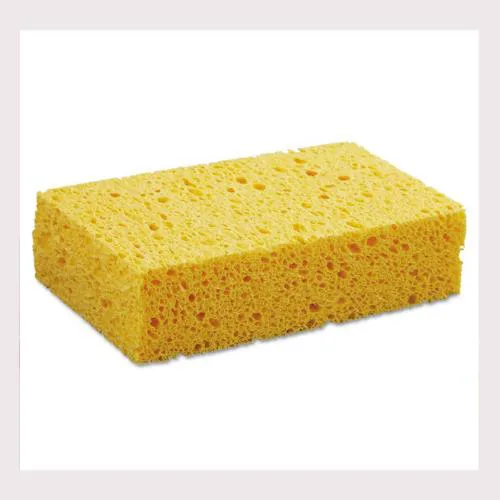
- Sandpaper (fine to medium grit)
- Masking tape and a plastic sheet, or a drop cloth
Materials
- Suitable MacoAvell texture system (primer, basecoat, texture coat, sealer/wax as recommended)
- Wall filler or skim coat compound for small repairs, if needed
- Clean water and mixing pail (if the system requires on-site mixing as per product guide)
Safety

- Mask and safety glasses when sanding
- Gloves if your skin is sensitive
- Proper ventilation when working indoors
Having the correct tools makes your DIY texture paint experience smoother and helps your wall look more consistent.
Step-by-Step DIY Texture Paint Application
Always follow the specific MacoAvell product datasheet, but this is a general step-by-step flow to guide your process.
Step 1 – Inspect and prepare the wall
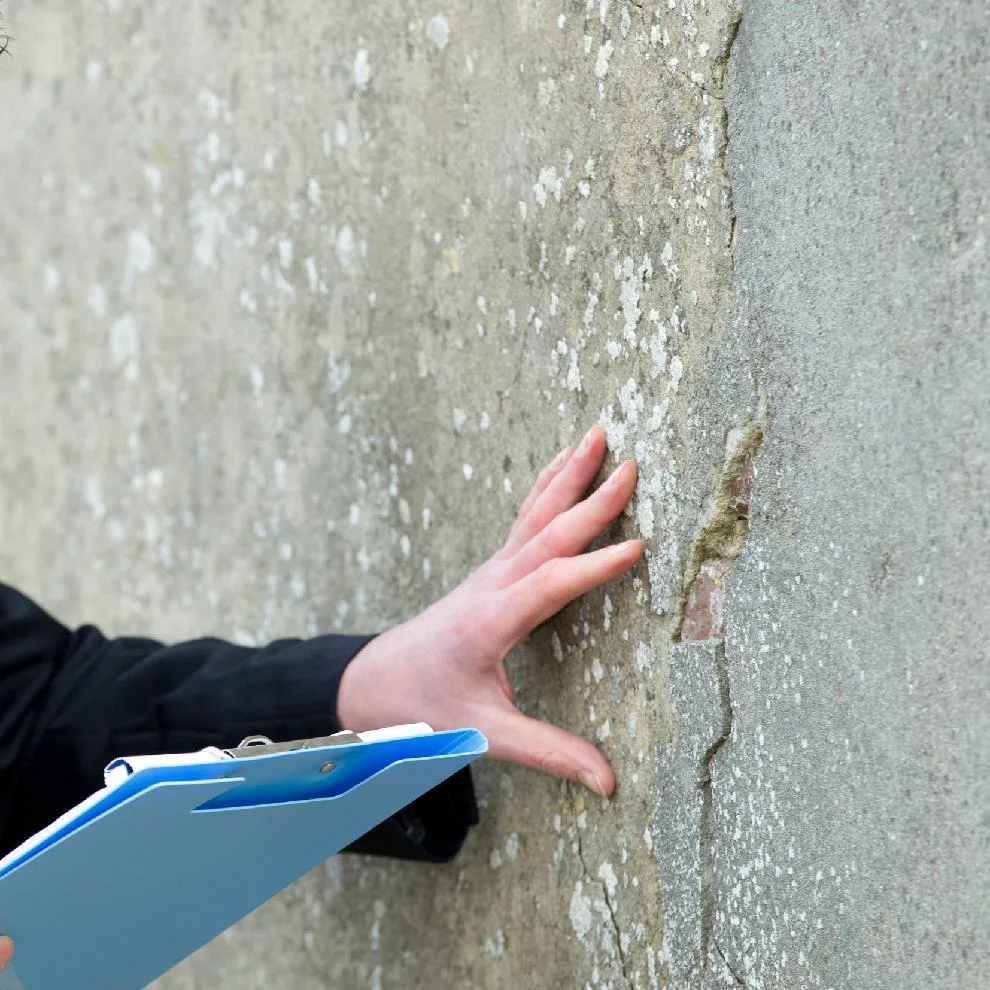
- Check for loose paint, cracks or peeling areas
- Scrape off any loose material
- Fill cracks and small holes with appropriate filler
- Sand down any very rough patches
The smoother and more solid your base surface, the better your final texture will look.
Step 2 – Clean the surface

- Wipe the wall to remove dust, grease and stains
- Make sure the surface is dry before you apply any product
Good surface cleanliness helps adhesion and reduces defects.
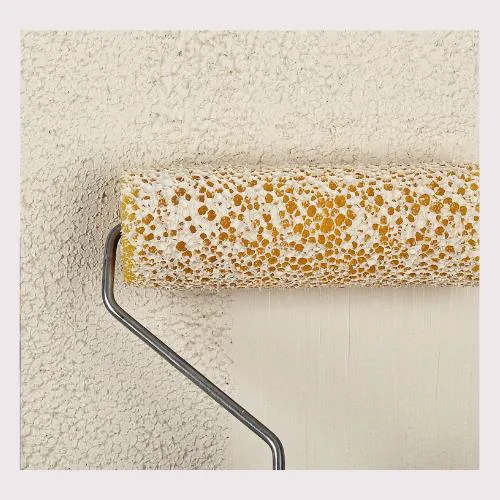
Step 3 – Apply primer/sealer
- Use the recommended MacoAvell primer or bonding product for the chosen system
- Apply evenly with a roller
- Allow it to dry fully as stated in the product guide
This step helps the texture coat grip the surface and improves durability.
Step 4 – Apply basecoat (if required)
Some texture systems use a coloured basecoat to support the final effect.
- Roll or trowel the basecoat as instructed
- Aim for an even layer
- Let it dry according to the recommended time
The basecoat colour will influence the final look, so apply it neatly.
Step 5 – First texture coat
Now comes the fun part: creating the texture.
- Use a trowel to apply a thin-to-medium layer of the texture material
- Work in small sections (e.g. 1 m² at a time)
- Keep your strokes light and consistent
- Don’t overwork the material – too much re-trowelling can cause patchiness
At this stage, you’re mainly focusing on coverage and basic movement.
Step 6 – Second texture coat/refinement
Depending on the chosen MacoAvell system:
- Apply a second coat to build depth
- Use overlapping strokes to create soft patterns, clouds or subtle movement
- Step back often to see how the wall looks as a whole
This is where your wall starts to look like a designer finish instead of flat paint.
Step 7 – Finishing: sanding, waxing or sealing
Once the texture is dry:
- Lightly sand only if the system requires it (check datasheet)
- Apply MacoAvell wax or sealer if recommended for extra protection and easier cleaning
Waxes and sealers:
- Enhance colour and depth
- Provide a more wipeable surface (useful behind TV, in dining areas or where kids play)
Common DIY Mistakes and How to Avoid Them
Every DIYer makes mistakes – the key is to avoid the big, painful ones.
Mistake 1: Skipping primer
Without the right primer:
- Adhesion may be weak
- Texture may dry unevenly
- You may face peeling later
Solution: Always use the primer recommended for your MacoAvell system.
Mistake 2: Applying too thickly in one go
Very thick layers can:
- Crack while drying
- Look lumpy and uncontrolled
Solution: Build the effect in thinner, controlled layers, even if it means two passes.
Mistake 3: Overworking the material
Constantly going back over the same area can:
- Remove too much material
- Create obvious patch lines
Solution: Work with confidence. Apply, shape, then move on. Come back only for light adjustments while still workable.
Mistake 4: Not planning the edges and corners
Rushing corners and edges can leave:
- Noticeable ridges
- Uneven frames around the wall
Solution: Use a smaller spatula or trowel just for corners and edges, and plan how you’ll “exit” those areas.
How MacoAvell Supports DIY Texture Paint Users
Doing it yourself doesn’t mean doing it alone.
MacoAvell can support DIY users in several ways:
- Product recommendations based on your wall condition and design idea
- Guidance on the material quantity for your wall size
- Basic application tips for first-time users
- Information on upcoming workshops or demo sessions
If you’re serious about DIY texture paint and want to get closer to professional results, you can also join MacoAvell training sessions – especially useful if you plan to do multiple walls, rental units or help friends and family.
Where DIY Texture Paint Works Best
DIY texture paint is especially suitable for:

- One feature wall in the living room or bedroom
- Study room or home office wall behind your desk
- Small accent wall near the dining area
- Creative corner for content creators or home studios
Start with a smaller, non-critical wall first. Once you’re confident with the tools and drying times, you can move on to more prominent areas.
When to Call a Professional Installer Instead
Even if you enjoy DIY, there are situations where hiring a trained applicator is wiser:
- Very large walls or double-volume spaces
- Tight project deadlines
- Complex multi-colour or multi-layer designs
- High-value commercial projects where consistency is crucial
MacoAvell can connect you with experienced installers and contractors familiar with MacoAvell systems, so you can still enjoy premium lime-based finishes even if you decide not to DIY.
How to Start Your DIY Texture Paint Project with MacoAvell
Here’s a simple way to begin:
- Visit the MacoAvell website
Go to https://macoavell.in/ and browse the texture products and project photos for ideas. - Choose your wall and style
- Take clear photos of the wall
- Decide if you prefer a concrete, matte, or softer cloud-like texture
- Note your existing furniture and colour scheme
- Contact MacoAvell for product advice
- Share your photos and wall size
- Ask which MacoAvell system is most DIY-friendly for your idea
- Confirm the tools and materials you’ll need
- Ask about workshops or demos
If you want extra confidence, ask the MacoAvell team about training sessions, demos or practical tips before you start. - Do a small test area first
- Use a spare board or a low-visibility section of wall
- Practice your trowel strokes and drying times
- Adjust your technique before finishing the whole wall
Turn Your Walls into a DIY Design Project
With the right materials, guidance and a bit of patience, DIY texture paint can transform your home and help you save on labour costs.
By choosing MacoAvell lime-based texture systems, you get:
- Professional-grade materials used in real commercial and residential projects
- Local product support and training opportunities
- A finish that feels far more premium than normal paint
Ready to start your DIY texture paint journey?
Visit MacoAvell Malaysia at https://macoavell.in/ and contact the team to plan your first feature wall today.